Updates
SQL Server on Linux

Aaron Cunnington
Microsoft SQL server on-Premises, in the cloud and across operating systems! For the first time SQL Server released for Windows & Windows operating systems.
August 4th, 2017
Microsoft SQL server 2017 on-Premises, in the cloud and across operating systems! For the first time SQL Server released (CTP 1.0) for both Windows and none Windows operating systems in November 2016. Microsoft keeps improving the SQL Server and its components like SSIS in Linux every month. The CTP 2.1, supports Red Hat Enterprise Linux 7.3 Workstation, Server, and Desktop, SUSE Enterprise Linux Server v12 SP2, Ubuntu 16.04LTS and Docker Engine 1.8+ on Windows, Mac, or Linux.
SQL Server Integration Services is one of the important and widely used tools for integration and data Extraction, Transformation and Load (ETL) processes in data projects. It is one of the components of SQL Server that can be installed as standalone. In this topic, I am going to install SQL Server and SSIS in Ubuntu, develop a simple package and execute it in Linux.
Let’s start with a simple scenario, as part of our integration project we need to download an RSS feed for the exchange rate from Reserve Bank of Australia. The RSS data needs to be inserted in a table in SQL Server. To achieve this, I am going to set up the environment by following these steps:
- Download Ubuntu Server 16.04LTS from https://www.ubuntu.com/download and install it. I used Windows Hyper-V to create a virtual machine and install Ubuntu.
- Install SQL Server 2017 and SQL tools.
- Connect to the SQL Server and create a database containing a table for the RSS.
- Install SSIS component.
- Develop a package in SSDT to read the RSS and insert the xml data into a table.
- Copy the package into Ubuntu and execute it.
- Confirm the result by querying the table.
I am going to provide step by step screenshots for each of the mentioned steps.
Note: you can find the system requirements for installing SQL Server on Linux in https://docs.microsoft.com/en-us/sql/linux/sql-server-linux-setup?view=sql-server-ver15
STEP 1: Installing Ubuntu server 16.04LTS
To download Ubuntu use https://www.ubuntu.com/download/server and choose Ubuntu Server 16.04.2 LTS.
I used Windows Hyper-V to install Ubuntu. After downloading the iso file, I created a virtual machine and set the installation media to the iso file.
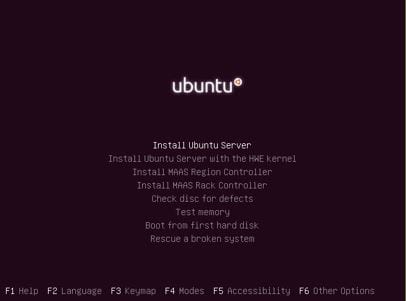
First step, we need to select the installation language.

In the next screen, we need to select the “Install Ubuntu Server
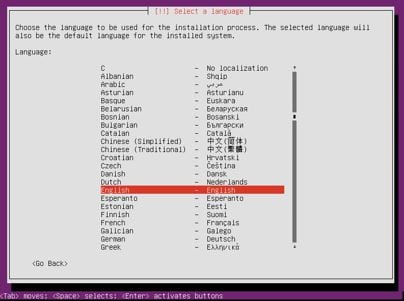
Select the language for your Ubuntu Operating System
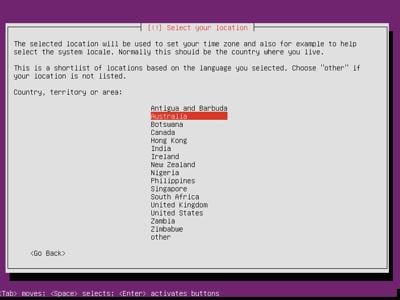
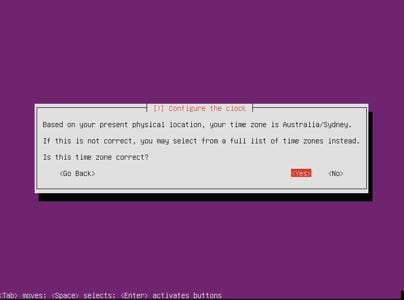
Select your location, in my case I am using Australia to determine my time zone.
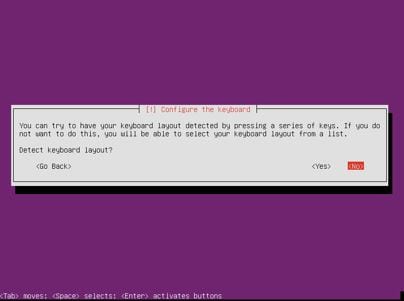
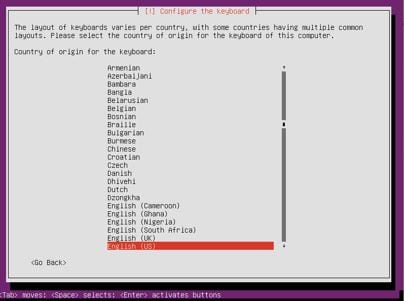
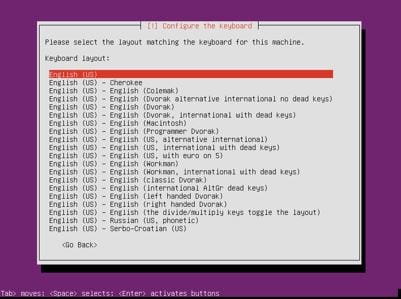
Keyboard configuration is the next step of the installation:
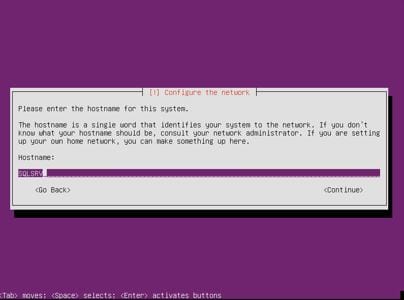
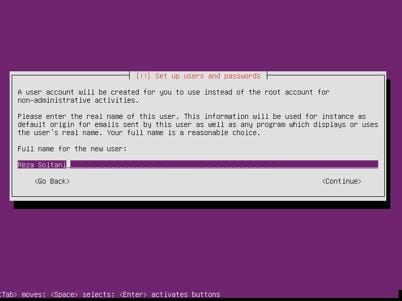
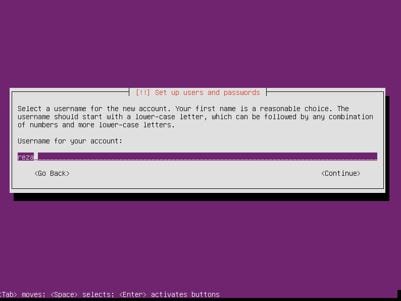
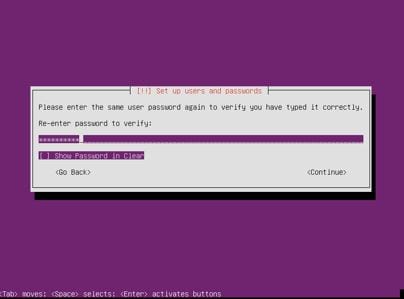
In this stage, we can set up our desired host name, user description, login name and password.
This login name is not a “root” but can obtain the “root” permission by sudo command.
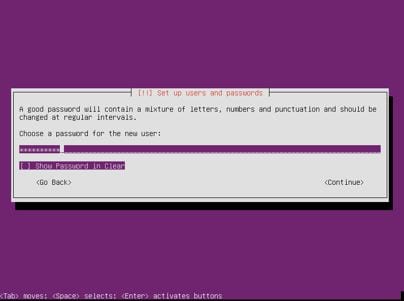
Set the password for the login.
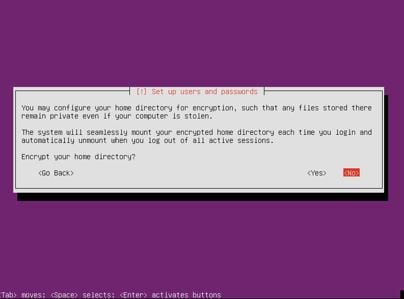
You can encrypt the home directory, but for our example we’ll keep the directory unencrypted.
You can set up the time zone here. Since we already selected our location, I am going to accept the current configuration.
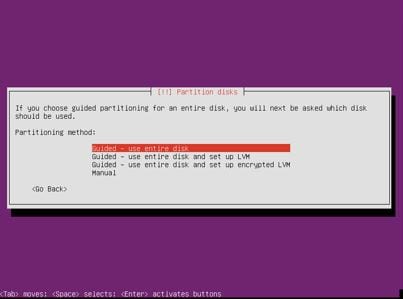
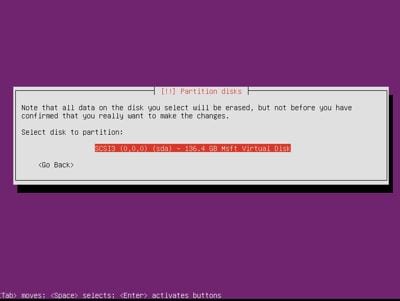
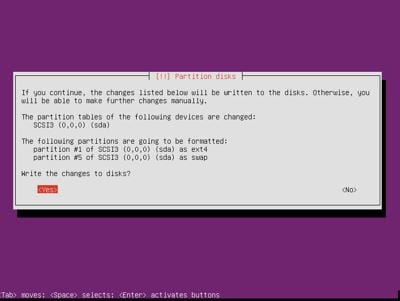
Designing partitions for Linux is an important task but in our example, we just use the entire disk.
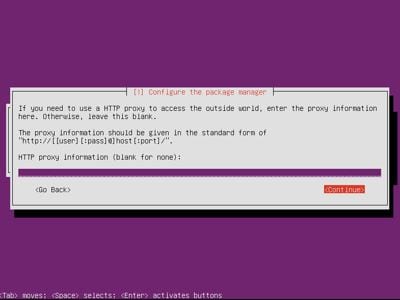
We can set up the http proxy to access the internet. This option is used when we do not have direct access to the internet in the environment and instead we are using proxy server. In this case, we do need to configure the http proxy server.
Note: to install SQL server and its components, we need to have internet access.
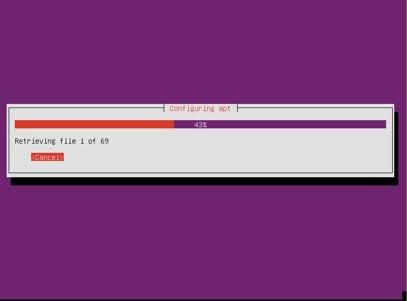
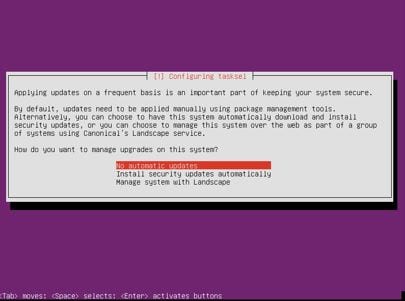
Select the automatic update configuration.
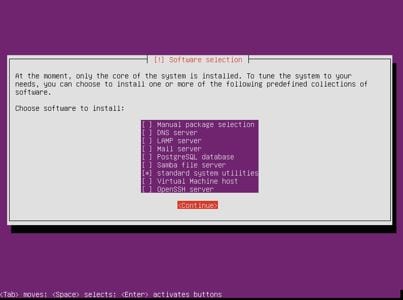
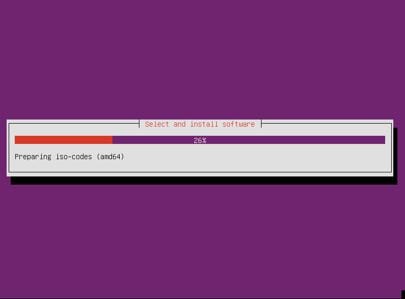
In this step, we can select the software installation. We do need to install OpenSSH server to use for transferring SSIS package to the Linux. I am going to install OpenSSH later via command.
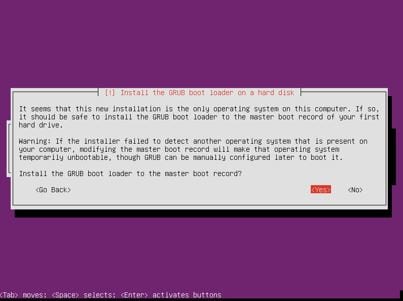
GRUB boot loader is used to load OS. It is the screen where you can select your OS to boot up if you have more than one OS installed.
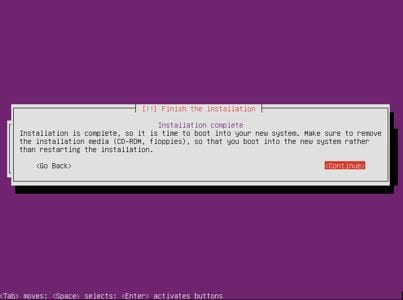
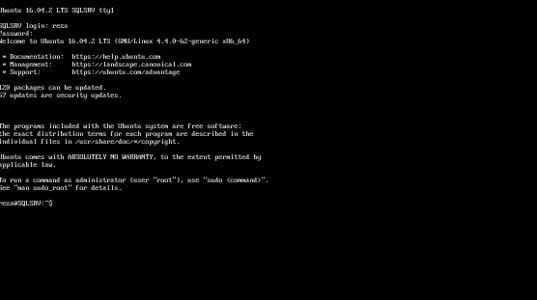
When the installation is done the Ubuntu restarts and you can see the log in screen.
Log in with the user and password you selected during the installation.
To check the network configuration, run ifconfig command.

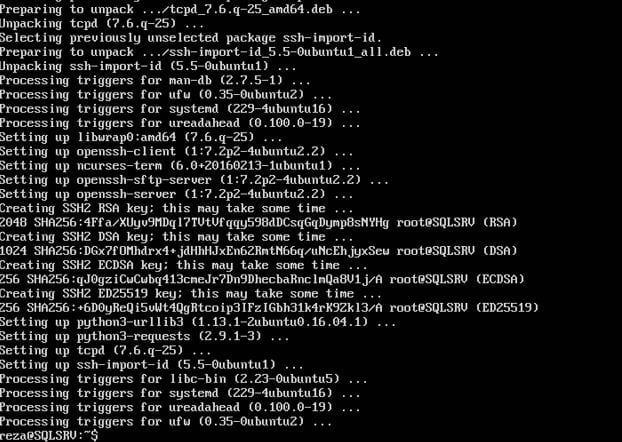
If you have already selected the OpenSSH server in the installation, you can omit this step or you can using the below command:
sudo apt-get update && sudo apt-get install openssh-server

STEP 2: Installing SQL Server and SQL Server Tools
Log in to the Ubuntu with the user pass you created during the installation.
Follow below steps to install SQL Server:
The steps are documented in Microsoft website:
- Import the public repository GPG keys:
curl https://packages.microsoft.com/keys/microsoft.asc | sudo apt-key add –

- Register the Microsoft SQL Server Ubuntu repository:
curl https://packages.microsoft.com/config/ubuntu/16.04/mssql-server.list | sudo tee /etc/apt/sources.list.d/mssql-server.list

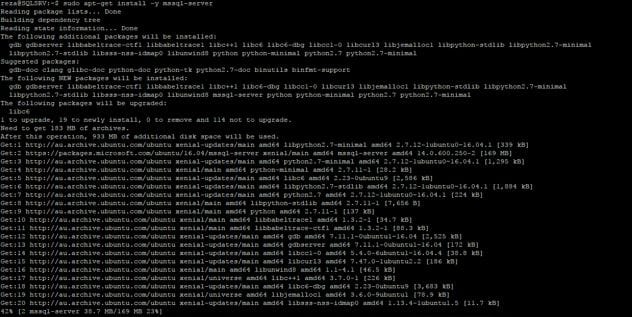
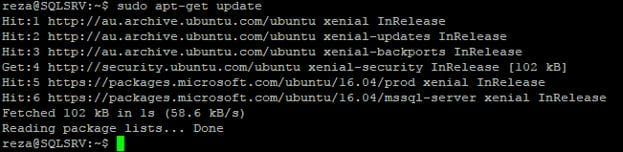
- Run the following commands to install SQL Server:
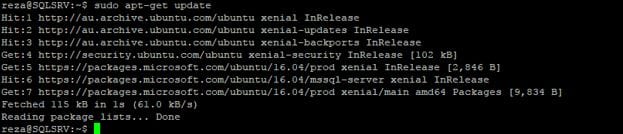
sudo apt-get update

sudo apt-get install -y mssql-server
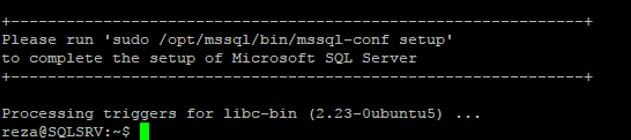
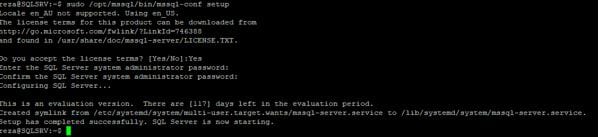
- After the package installation finishes, run mssql-conf setupand follow the prompts. Make sure to specify a strong password for the SA account (Minimum length 8 characters, including uppercase and lowercase letters, base 10 digits and/or non-alphanumeric symbols).
sudo /opt/mssql/bin/mssql-conf setup
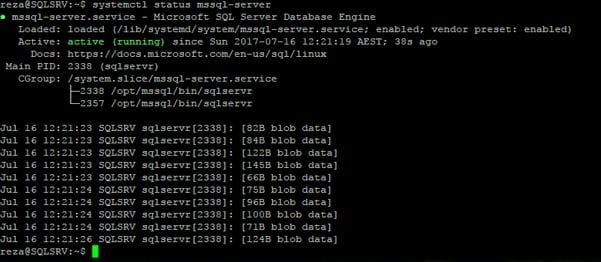
- Once the configuration is done, verify that the service is running:
systemctl status mssql-server
Installing SQL Tools:
The following steps install the command-line tools, Microsoft ODBC drivers, and their dependencies. The mssql-tools package contains:
- sqlcmd: Command-line query utility.
- bcp: Bulk import-export utility.
we are going to use sqlcmd to connect to SQL server and create a database and a table. Although, we can and will connect to the SQL server via Management studio, but I am going to demonstrate the use of sqlcmd in Linux too.
Use the following steps to install the mssql-tools on Ubuntu.
- Import the public repository GPG keys.
curl https://packages.microsoft.com/keys/microsoft.asc | sudo apt-key add –

2. Register the Microsoft Ubuntu repository.
curl https://packages.microsoft.com/config/ubuntu/16.04/prod.list | sudo tee /etc/apt/sources.list.d/msprod.list

3. Update the sources list and run the installation command with the unixODBC developer package.
sudo apt-get update
sudo apt-get install mssql-tools unixodbc-dev
Accept the license terms.

Accept the license terms.

Optional: Add /opt/mssql-tools/bin/ to your PATH environment variable in a bash shell.
To make sqlcmd/bcp accessible from the bash shell for login sessions, modify your PATH in the ~/.bash_profile file with the following command:
echo ‘export PATH=”$PATH:/opt/mssql-tools/bin”‘ >> ~/.bash_profile
To make sqlcmd/bcp accessible from the bash shell for interactive/non-login sessions, modify the PATH in the ~/.bashrc file with the following command:
echo ‘export PATH=”$PATH:/opt/mssql-tools/bin”‘ >> ~/.bashrc
source ~/.bashrc

STEP 3: Connect to the SQL Server and create database and table
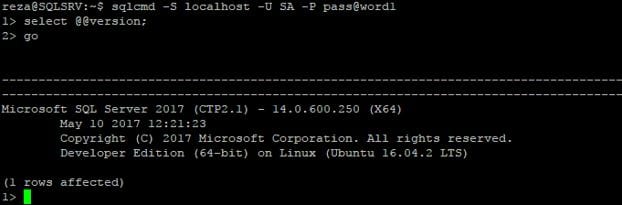
SQL server and the tools installation is completed. Let’s give it a try and connect with sqlcmd. Execute below command and replace the password:
sqlcmd -S localhost -U SA -P ‘<YourPassword>’
Then execute below queries to get the SQL version:
SELECT @@VERSION;
GO
To create a database and a table, execute below commands:
CREATE DATABASE FIRSTDB;
GO
USE FIRSTDB;
CREATE TABLE CURRENCY_RSS (ID INT IDENTITY(1,1), RSS_DATA VARCHAR(MAX));
GO
SELECT * FROM CURRENCY_RSS;
GO
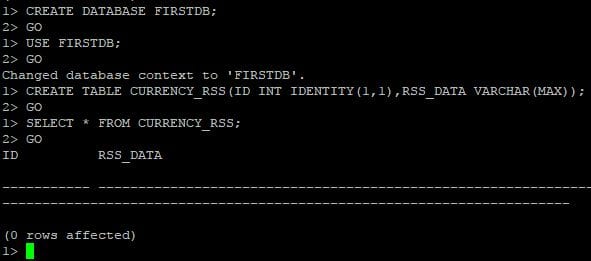
As you can see, we have the database and a table ready. In fact, we could create both via management studio as well. Sqlcmd in Windows and Linux work the same way. It seems the underlying OS is transparent.
Let’s install SQL Server Integration services and develop our package.
STEP 4: Installing SQL Server Integration Services.
To install the mssql-server-is package on Ubuntu, follow these steps:
1. Import the public repository GPG keys.
curl httpspackages.microsoft.comkeysmicrosoft.asc sudo apt-key add –

2. Register the Microsoft SQL Server Ubuntu repository.
curl httpspackages.microsoft.comconfigubuntu16.04mssql-server.list sudo tee etcaptsources.list.dmssql-server.list

3. Run the following commands to install SQL Server Integration Services.
sudo apt-get update
sudo apt-get install -y mssql-server-is
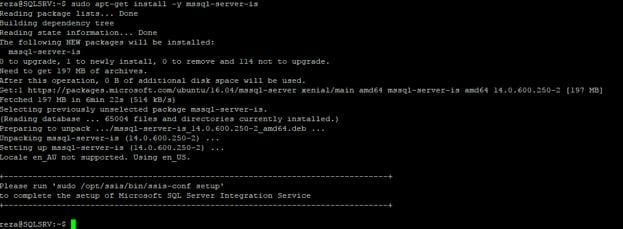
4. After installing Integration Services, run ssis-conf.
sudo /opt/ssis/bin/ssis-conf setup
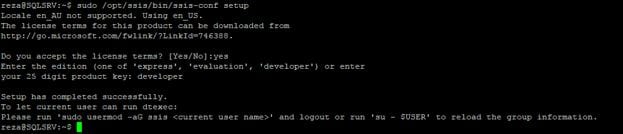
5. If you’re not in the SSIS group, add the current user to the SSIS group.
sudo gpasswd -a “current user” ssis

6. After the configuration is done, set the path.
export PATH=/opt/ssis/bin:$PATH

Use the ID command to make sure the current user is in the SSIS group.
Id

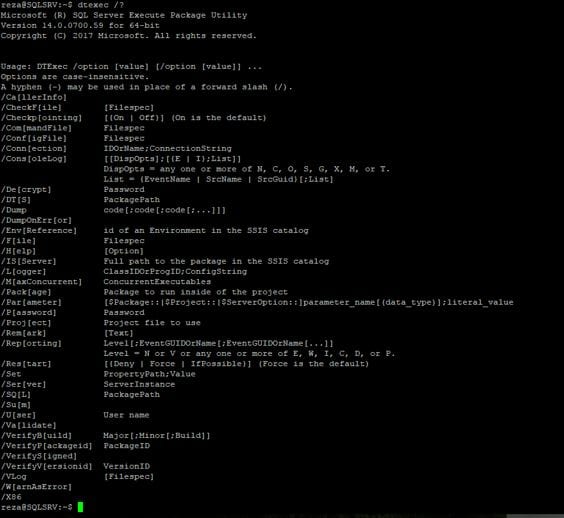
The SSIS installation is done and now we can test and check the dtexec help by executing below command:
dtexec /?
STEP 5: Developing SSIS package.
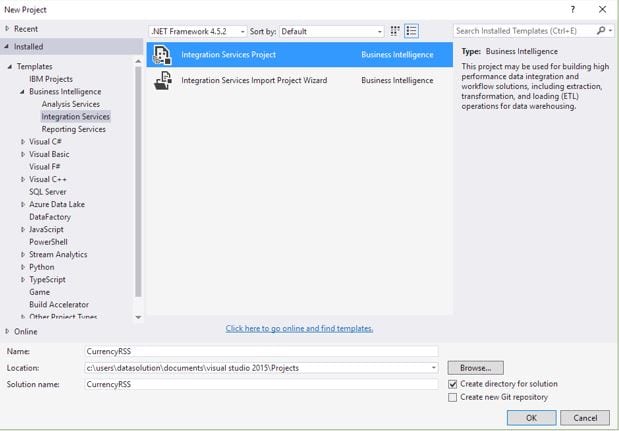
Open SQL Server Data Tools 2015, create a new Integration Services Project.
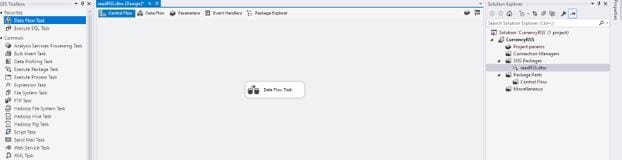
Rename the Package to readRSS and Insert a Data flow task in the control flow.
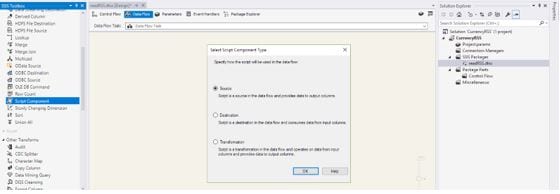
Navigate to the Data Flow and select Script Component Task from the SSIS toolbar. Choose the Source type and press OK. The script component is used to connect to the http, grab the xml and create a data row. It sounds like a type of source connection!
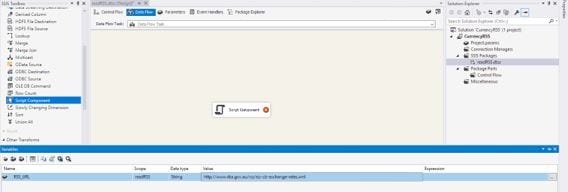
I am going to pass the source URL(the XML url) as a variable to the script component, to do so, I am creating a variable named RSS_URL. The type of variable is string and the value is the url to the xml:
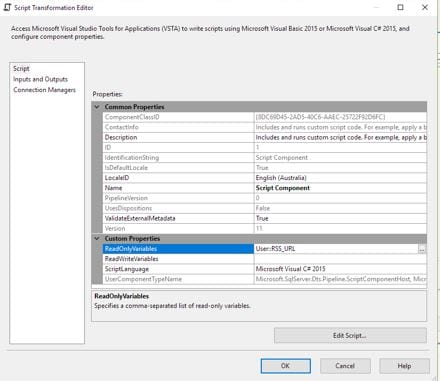
Double click on the script component, select RSS_URL as a readOnlyVariable.

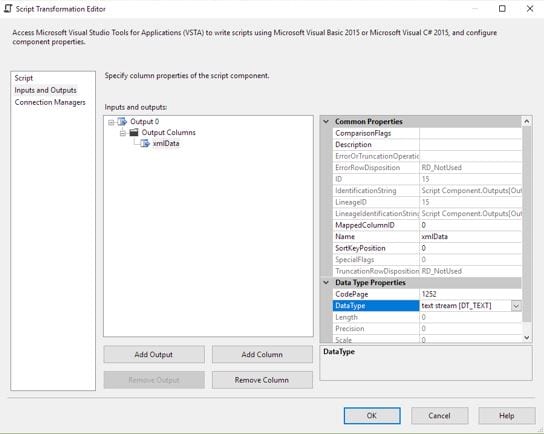
Since the script component is going to create the source row, we need to add columns to the output of the component. Select Input and Output from the left pan and add a column in Output 0/Output Columns.
The column name is xmlData and the datatype is DT_TEXT.
Navigate back to the Script from the left Pan and press the Edit Script:
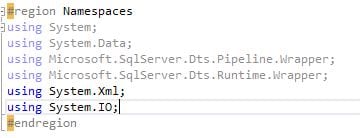
Let’s start developing our source code by adding Namespaces for XML and IO.
Collapse the Namespace region and add below codes:
using System.Xml;
using System.IO;
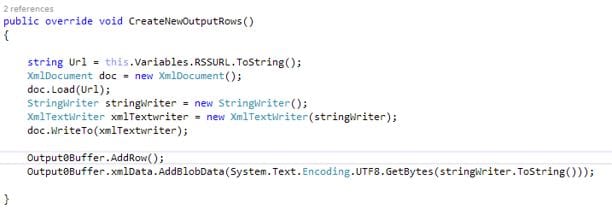
Scroll down to the CreateNewOutputRows(), and add below codes.
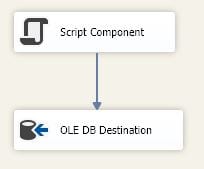
Add an OLEDB Destination component from the SSIS toolbox and connect Script component.
We need to select our newly installed SQL Server in Linux as a destination server. Double click on the OLE DB Destination component and press on New OLE DB Connection Manager.
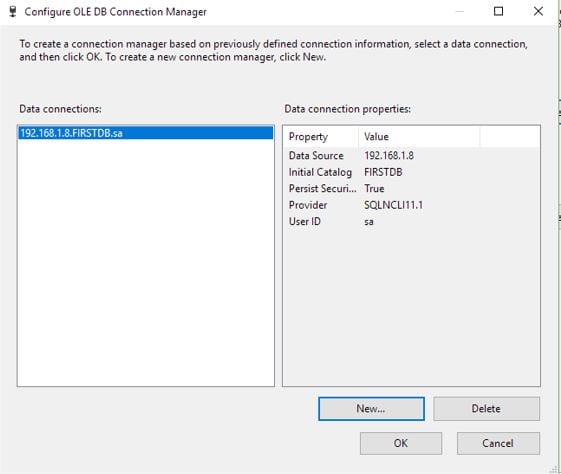
Configure the connection manager by providing the SQL Server(Ubuntu) IP address, and SQL Server credential.
As you can see the entire process is same as creating a connection manager for a SQL server on Windows.
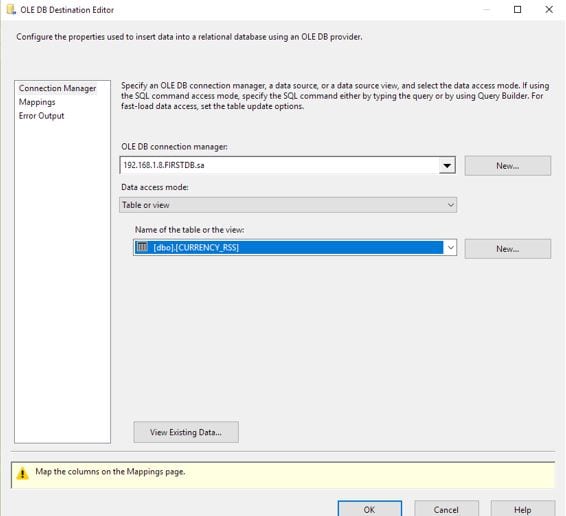
Select FIRSTDB as a database. And test the connection.

Select the only table in the list (CURRENCY_RSS) and navigate to the Mapping section.
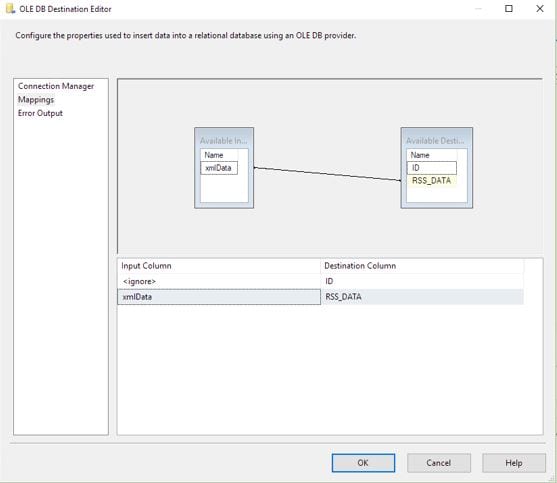
We are done with the developing our sample package. The only part left is setting the protection level to EncryptSensetiveWithPassword and set a PackagePassword.

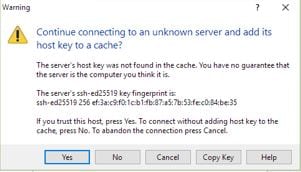
In this point, we need to copy our package into Ubuntu, I used WinSCP to connect. You can use any other tools which you are familiar with.
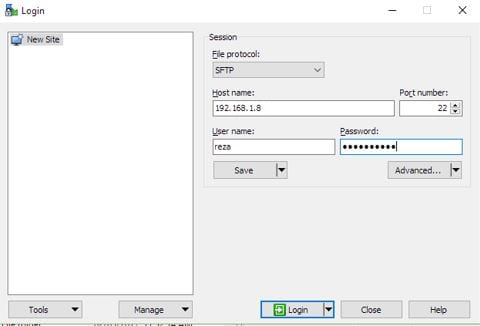
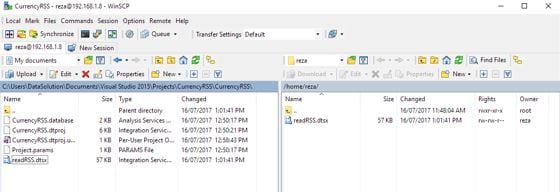
Copy the package into home directory or any folder you like.
Execute package by running dtexec command (change the path to your package):
dtexec /F “/home/reza/readRSS.dtsx” -DE <Password for encryption>
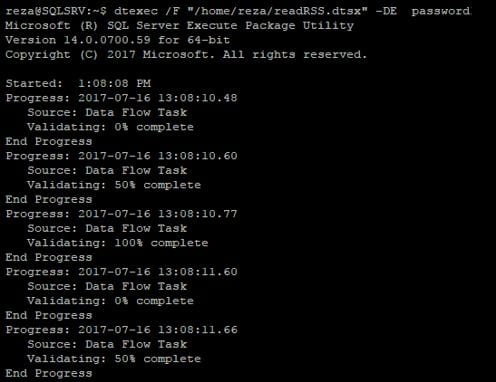
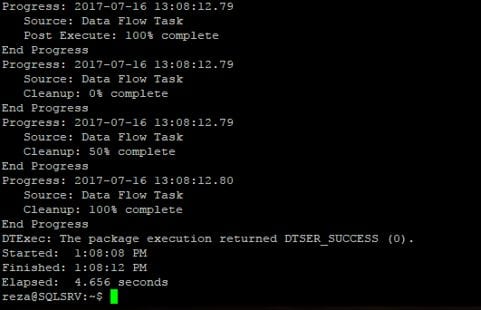
The package executed successfully. Let’s check it out via SQL Server Management Studio:
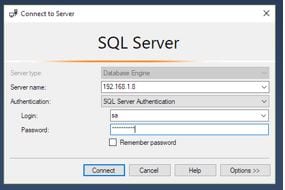
Connect to SSMS, provide SQL Server IP address and credential. Make sure the firewall is configured to allow port 1433.
Navigate to the FIRSTDB and run the query:
Select * from dbo.CURRENCY_RSS
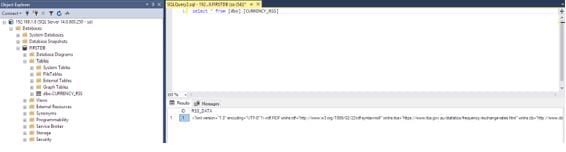
In conclusion, I have covered an end to end example to install and execute an SSIS package in Linux, the installation is easy to manage and the development part is transparent. The same package can be run in the different environment. This is the goal of the Microsoft SSIS development team to provide the same capability and performance in both Linux and Windows. Microsoft is developing the Project deployment (SSISDB) on Linux and might get it done in next CTPs. It might be a part of the SSIS Scale out feature too. But as of now, the CTP2.1 is released and you can give it a try!